Thursday, November 29, 2012

Welcome to wonderland


Alice in Wonderland Christmas Series: Part 7


       The first time we went to the movies and saw Alice in Wonderland we fell in love with it. All the whimsical design in the movie: all those colors and textures in the nature inspired sets, the characters and the beauty of the story itself. That inspired us to create our own Wonderland theme this Christmas, trying to recreate all the  magic of the movie throughout the house.


 Each of us has a favorite character. My oldest daughter likes Alice, the youngest one likes the Red Queen, and I love the Mad Hatter. You can see each of the character's personalities in different areas of the house.


Here's our whimsical Christmas tree. It's just like a trip to wonderland:


 the Mad Hatter hat is the tree topper:


The blue hearts and feathers are in honor of Alice.


 The red, black and white hearts are in honor of the Red Queen.


We cannot forget my favorite: The Mad Hatter:


And last but not least a trumpet in honor of the White Rabbit:


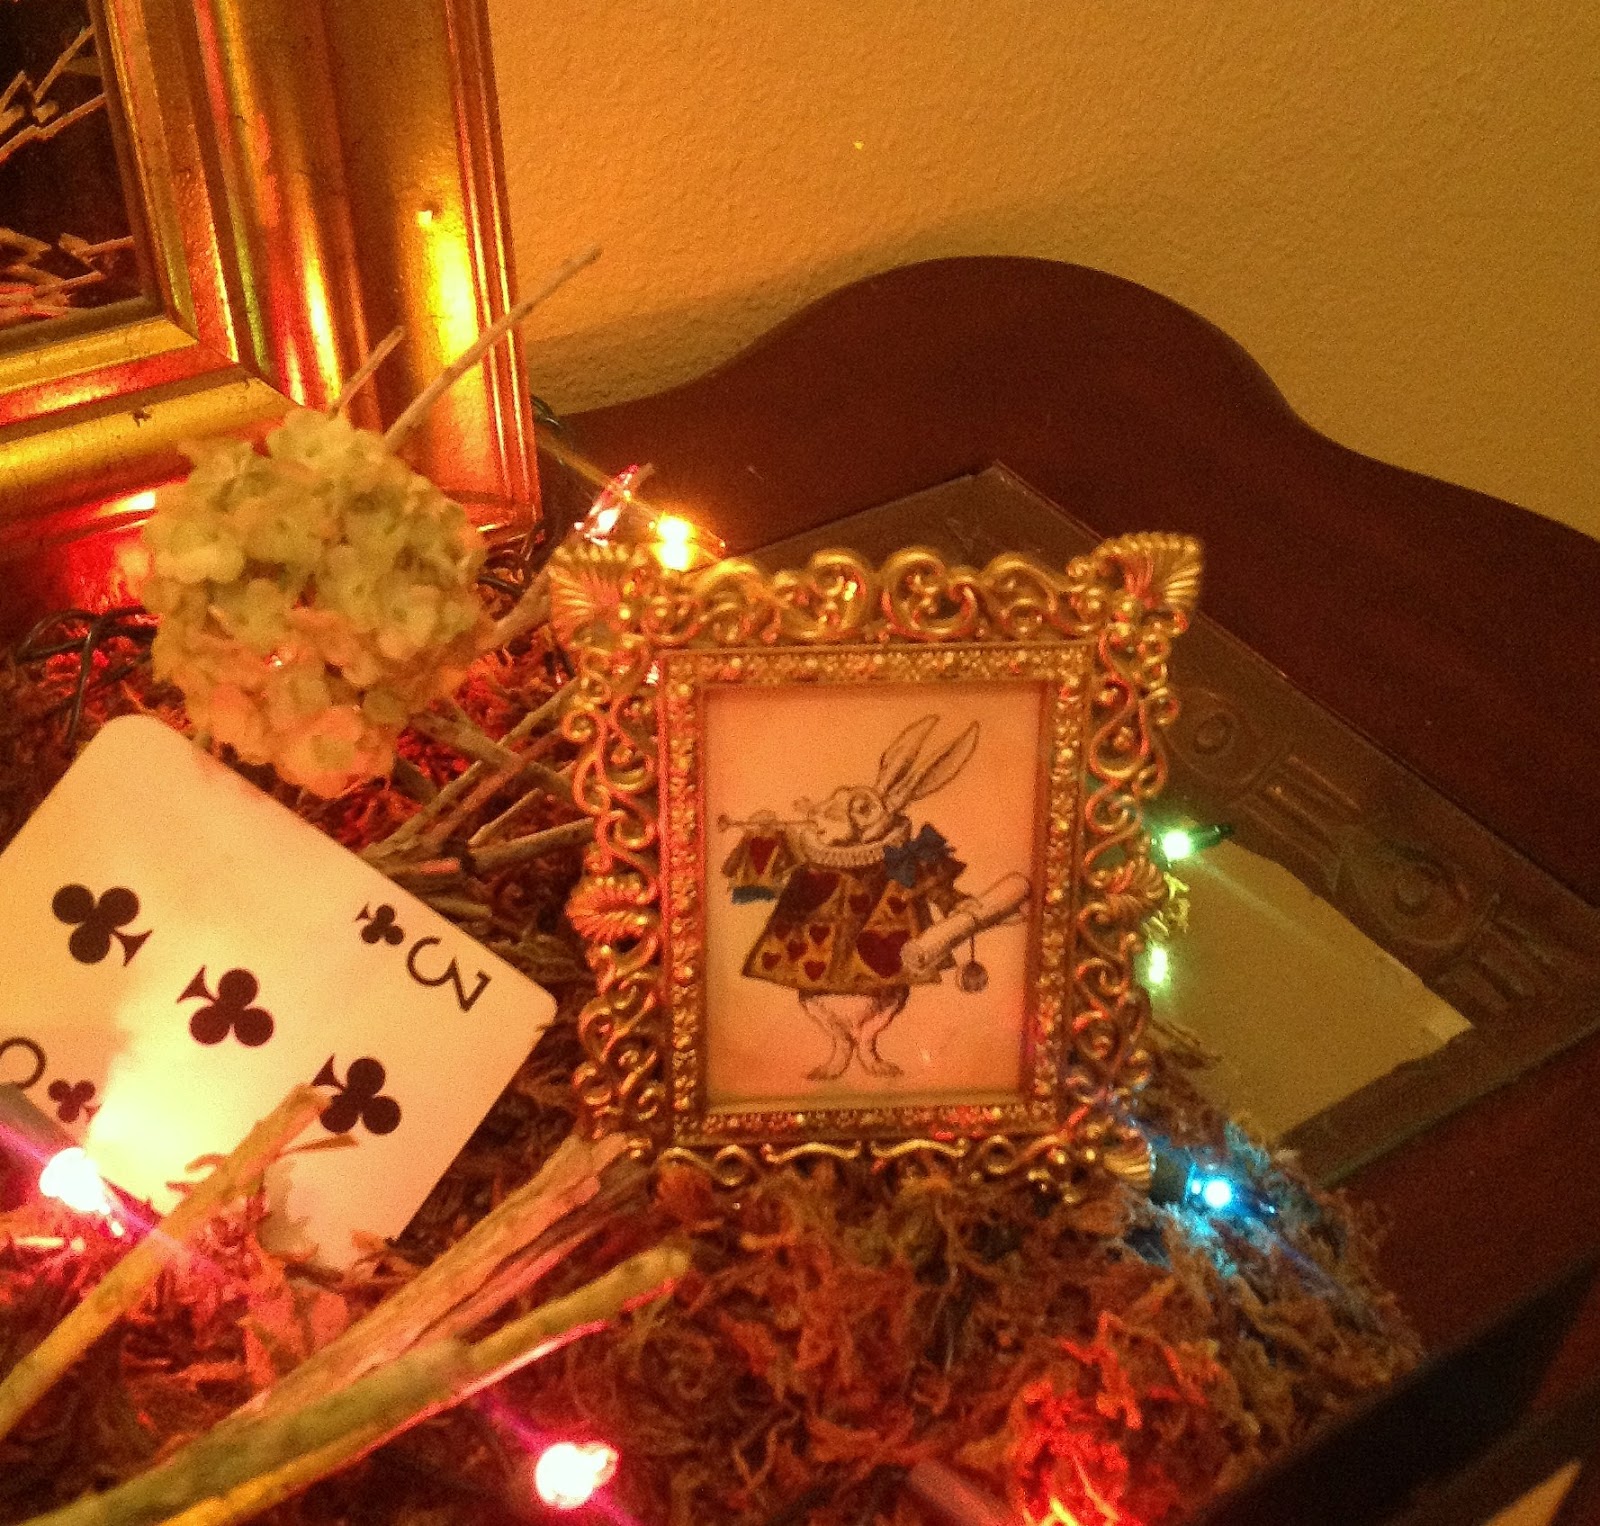
Our foyer is all about the famous garden scene bringing all the nature scenes that were shown in the movie:


A vintage iron cage and bed of moss decorated with branches and flowers were made for the foyer table:


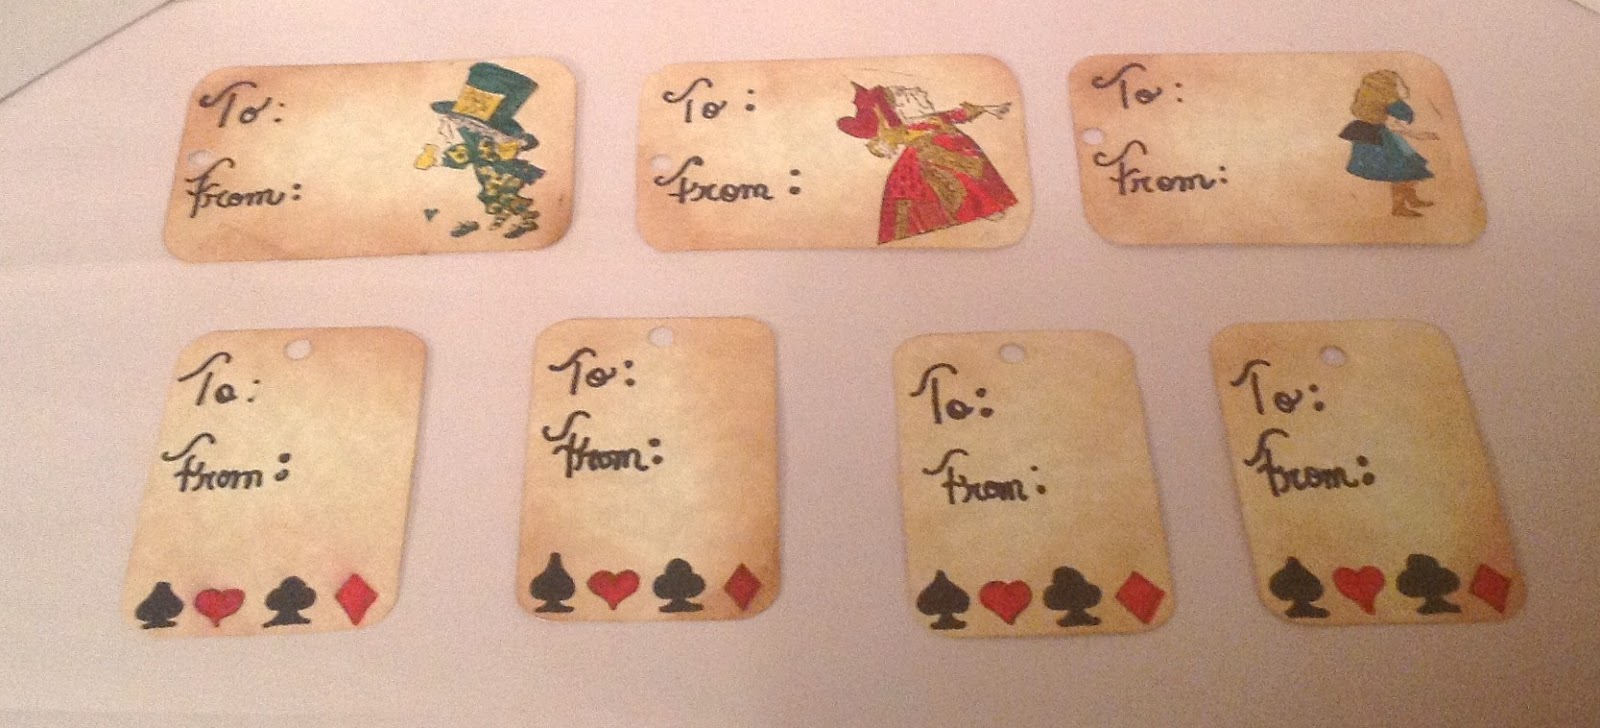
All the characters are present to welcome our guest to wonderland!


This is the final chapter of the series. It was great seeing how every craft made fell into place at the end. Still there are presents to wrap and more preparation to come for the holiday season. But it is marvelous to come home and unwind after a hard day of work in our own wonderland.


If you dream it you can make it!  


Wednesday, November 28, 2012

Alice in Wonderland's Red Queen Inspired Tablescape


Alice in Wonderland Christmas Series: Part 6 of 7


The Red Queen is the perfect inspiration for the dining room decorations of my home. The colors of her dress: Black, red, white and gold are all used to create a beautiful tablescape.


We started the process by creating a set of two identical Topiaries. We used very inexpensive items: terracotta pots, moss, Styrofoam and crepe paper.


The terracotta pots were painted in black and adorned with red hearts and gold glitter. 


We also used red roses made out of crepe paper and glittered them with a darker hue. Black and white checkered bows finish the look.


Here they are in the table:


We used gold chargers, red and  floral plates, red hearts champagne flutes, and a white and gold tea cup set to complete the table settings. As a little detail we added hearts to the tea bags to honor the Queen of Hearts.


In the center, we placed this tea serving set in colors white and gold. Adorned with a gold crown and wand. Two roses complete the look. Now we are ready to serve the tea!


It is always tea time in wonderland!


Thanks for reading and stay tuned for the final post of the series!

Tuesday, November 27, 2012

Alice in Wonderland inspired centerpiece


Alice in Wonderland Christmas Series: Part 5 of 7
Part 1  Part 2  Part 3  Part 4

For Christmas I love to decorate the whole house, and carry the whole theme into every room.  For my living room table I wanted to create a floral centerpiece following the Alice and Wonderland theme that we are following this year.

To create the centerpiece I used pretty floral in different colors, I decorated them with Christmas picks in the colors of the characters. I also added some cards cutouts and a pretty gold, black and white ribbon to finish the look.


Here is a close up view:


I am very happy to see all the elements coming in to life to create the final product: Our own wonderland!

Stay tuned for the next post of the series!


Monday, November 26, 2012

The Mad Hatter Tree Topper Tutorial

Alice in Wonderland Christmas Series: Part 4 of 7

For the top of my Alice in wonderland Christmas tree I wanted to use something that will bring out attention. I decided to use the Mad Hatters hat. I was inspired by the color of the original Mad Hatter's hat in the books.


For the construction I used heavy cardboard and glue, and then to finish it, I covered it with scrapbook paper.  


But still not happy with the result, I painted over the paper with green craft paint and that gave me the worn out look. For the decor I used a Christmas feather ornament in colors to match the design, and created a stamped 10/6 that was aged with distress ink. A rusty brown ribbon finished the effect.


Thanks for reading and stay tuned for the next post of the series!


Sunday, November 25, 2012

Alice in Wonderland DIY Christmas Garland

Alice in Wonderland Christmas Series: Part 3 of 7
 Part 1  Part 2


This week, we had the idea of crafting a garland for our tree to incorporate all the characters from Alice in Wonderland.

We started with making some character tags out of paper. We used the Wonderland stamp set and distress markers for the characters. Distress ink was used to age them. For some contrast, we aged some playing cards that referred to the Queen of Hearts' armored guardians. 


To create the vintage look on the playing cards we aged them with distress ink.


To construct the actual garland for the tags and cards to hang on, we used a string of white pearls, and mini-wooden clothespins. We spray painted the pins gold for a more majestic look.


This is the finished garland. It will go all around the tree and tie together all the different elements of the theme. 


Thanks for reading and stay tuned for the next post!


Saturday, November 24, 2012

Alice in Wonderland Inspired Gifts Bags and Tags

Alice in Wonderland Christmas Series: Part 2 of 7


In continuation with the Christmas series, I, with the help of my fabulous assistants (my daughters) created gift bags for my tree. We made one for each one of our favorite characters: The Red Queen, The Mad Hatter and of course Alice.

They are pretty easy to do with minimal materials: solid color gift bags, scrapbook paper, stamps and some ribbon.


For the Alice bag we used a  blue gift bag and drew the bodice design to match Alice's apron.


These are the finished Alice Gift bags, embellished with some lace, black ribbon, and tissue paper:


For the Red Queen Bags we used red gift bags and used the Cricut to create memorable quotes from the movie. We also cut off hearts that were aged with distress ink and stamped with the Queen herself.


And for my favorite, The Mad Hatter, I used green cardstock to design the hat, used feathers and ribbon as decoration, stamped the Mad Hatter, and included one of his famous quotes.


We also created gift tags that will be used for those bigger gifts. We plan to wrap those with gold wrapping paper.


These are going to make a wonderful addition to our tree decoration:


 Thanks for reading and stay tuned for the next post!


Thursday, November 22, 2012

Alice in Wonderland DIY Christmas Ornaments

Alice in Wonderland Christmas Series: Part 1 of 7


For our Alice in Wonderland inspired Christmas tree we have created a few different ornaments following the same theme and referring to some memorable moments of the story.

We created these hand painted hearts in the color of some of the characters: red, white and black  We used paper mache hearts and colored them with craft paint, then finished them with ribbon bows.


In honor of the Queen of Hearts:


This one is inspired by Alice:


Of course. one for the Mad Hatter:


We found this pretty bottles and made some tags with the quote "drink me" referring to the scene in the movie where Alice drinks from the potion bottles and grows uncontrollably.


Another version:


One of my favorite ornaments are the ones created with this wooden frames that we spray painted gold and used to frame the stamped images of the characters on the story.


These clocks are another piece of decoration for the Christmas tree, referring to character of the White Rabbit always so impatient and asking for the time. They were created with round pieces of wood, painted gold and then stamped with black numbers.


I can't wait to put up the Christmas tree!


Thanks for reading and stay tuned for the next post of the series!


Wednesday, November 21, 2012

Alice in Wonderland Christmas Crafting Series

Every year my family tries to follow a different Christmas theme. We usually vote on what theme would be used. This year we decided on an Alice in Wonderland theme.  We loved the movie, and always wanted to translate the idea into a Christmas theme.

A few months back at a scrapbook convention, I bought a set of vintage Alice stamps. They are going to be the inspiration for all the projects that I have in mind.


As soon as I started to color them they took a new life.


This post is going to be followed by a series that shows all the projects done for this theme's creation. Keep reading and following to see the rest of the Christmas decorations we've done!

Upcoming Alice in Wonderland Christmas posts:

Part 1: Alice in Wonderland DIY Christmas ornaments
Part 2: Alice in Wonderland inspired gift bags and tags
Part 3: Alice in Wonderland DIY Christmas garland
Part 4: The Mad Hatter tree topper tutorial
Part 5: Alice in Wonderland inspired centerpiece
Part 6: Alice in Wonderland's Red Queen inspired tablescape
Part 7: Welcome to Wonderland


Thanks for reading and tune in for the upcoming posts!