Saturday, December 29, 2012

Vintage Christmas Album

This week I found a good amount of items on clearance for scrapbooking, especially Christmas paper pads and embellishments. And of course I could not resist!

This mini album will be my last Christmas craft of the season and I liked it so much that I will keep it to myself.


For the front cover I used a Chipboard Album from Michael's and painted it in hunter green,  I also added two pieces of cardstock in both dark red and a contrasting vintage white and red printed paper.  I made the 25th sign with my cricut and added this pretty Santa image.


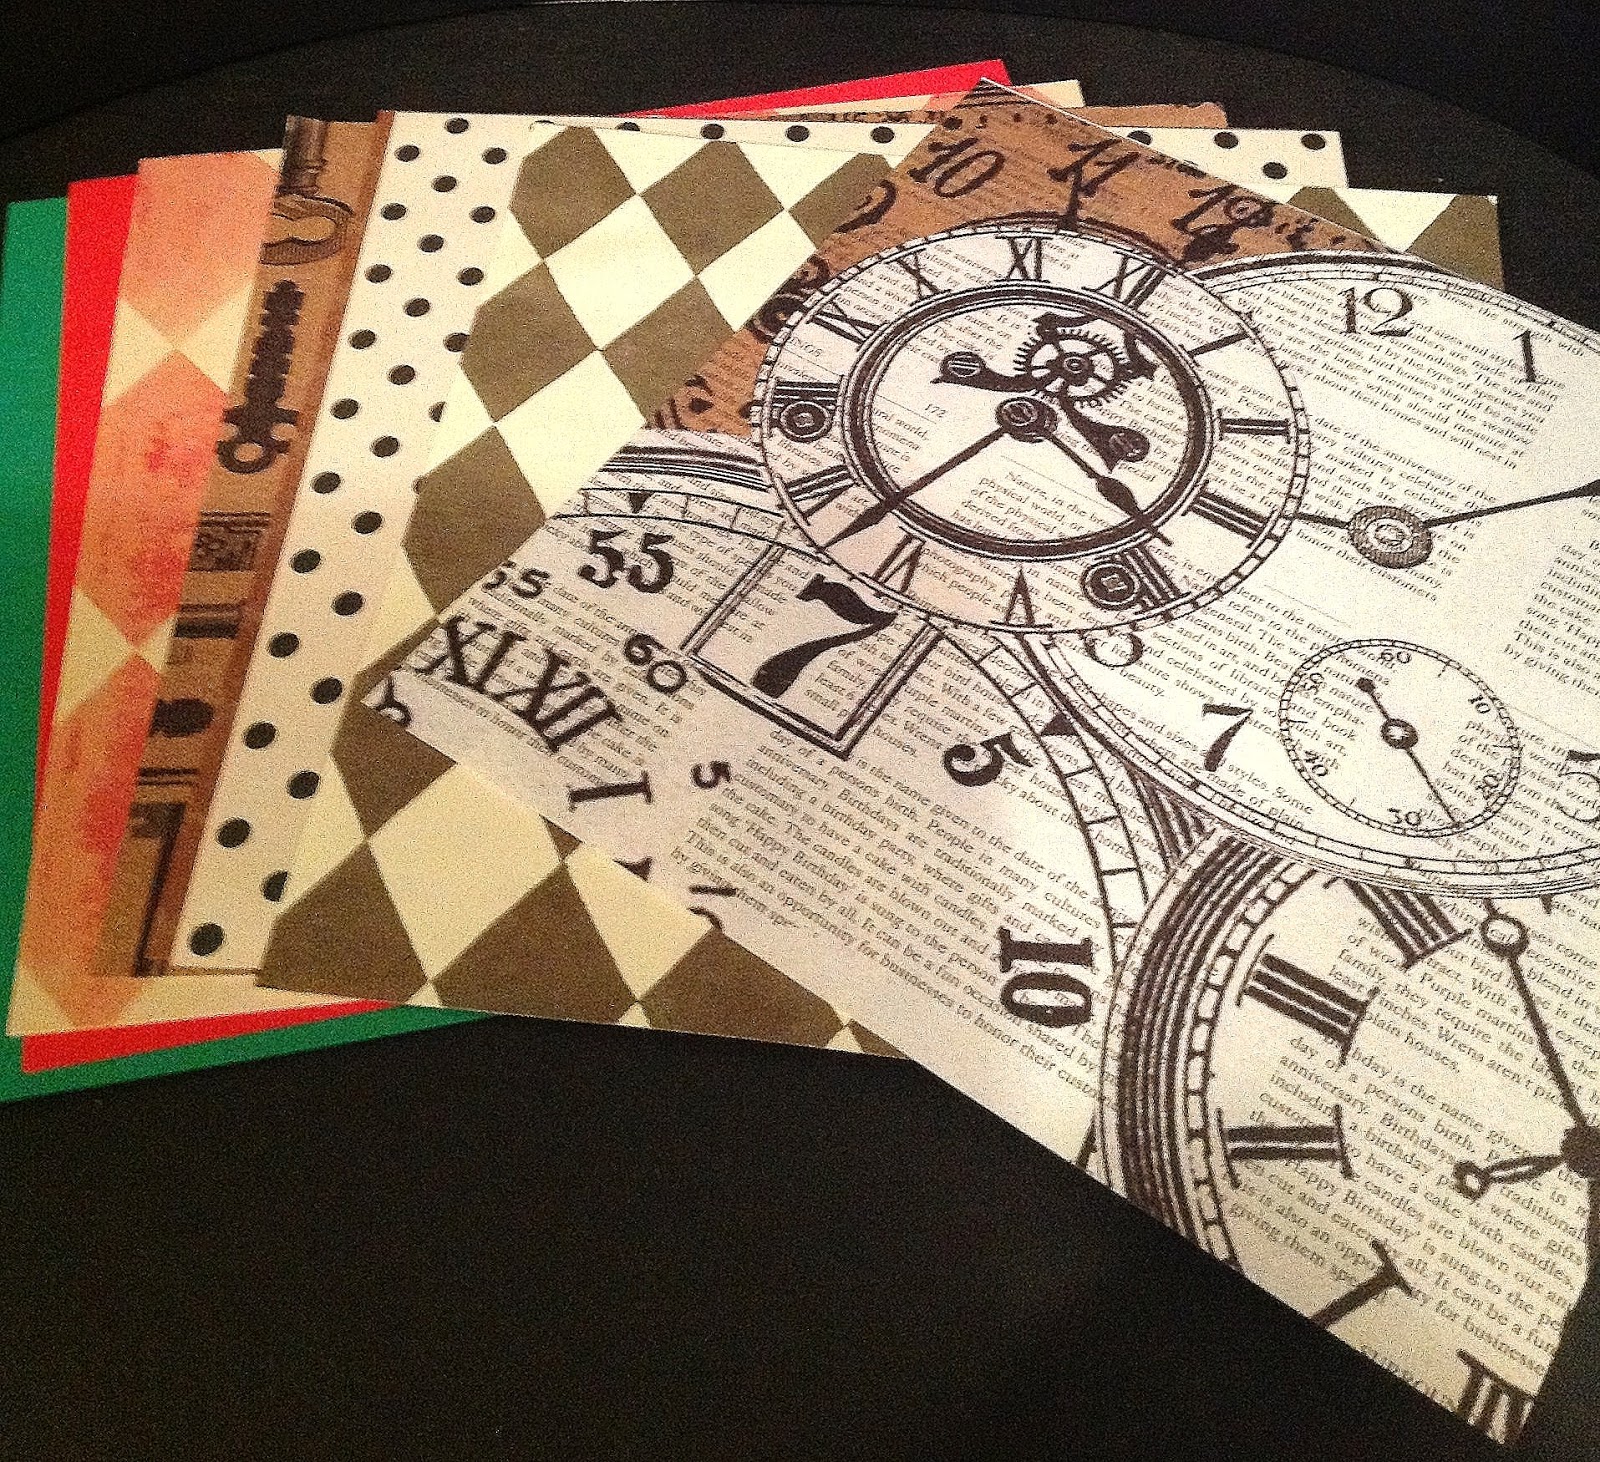
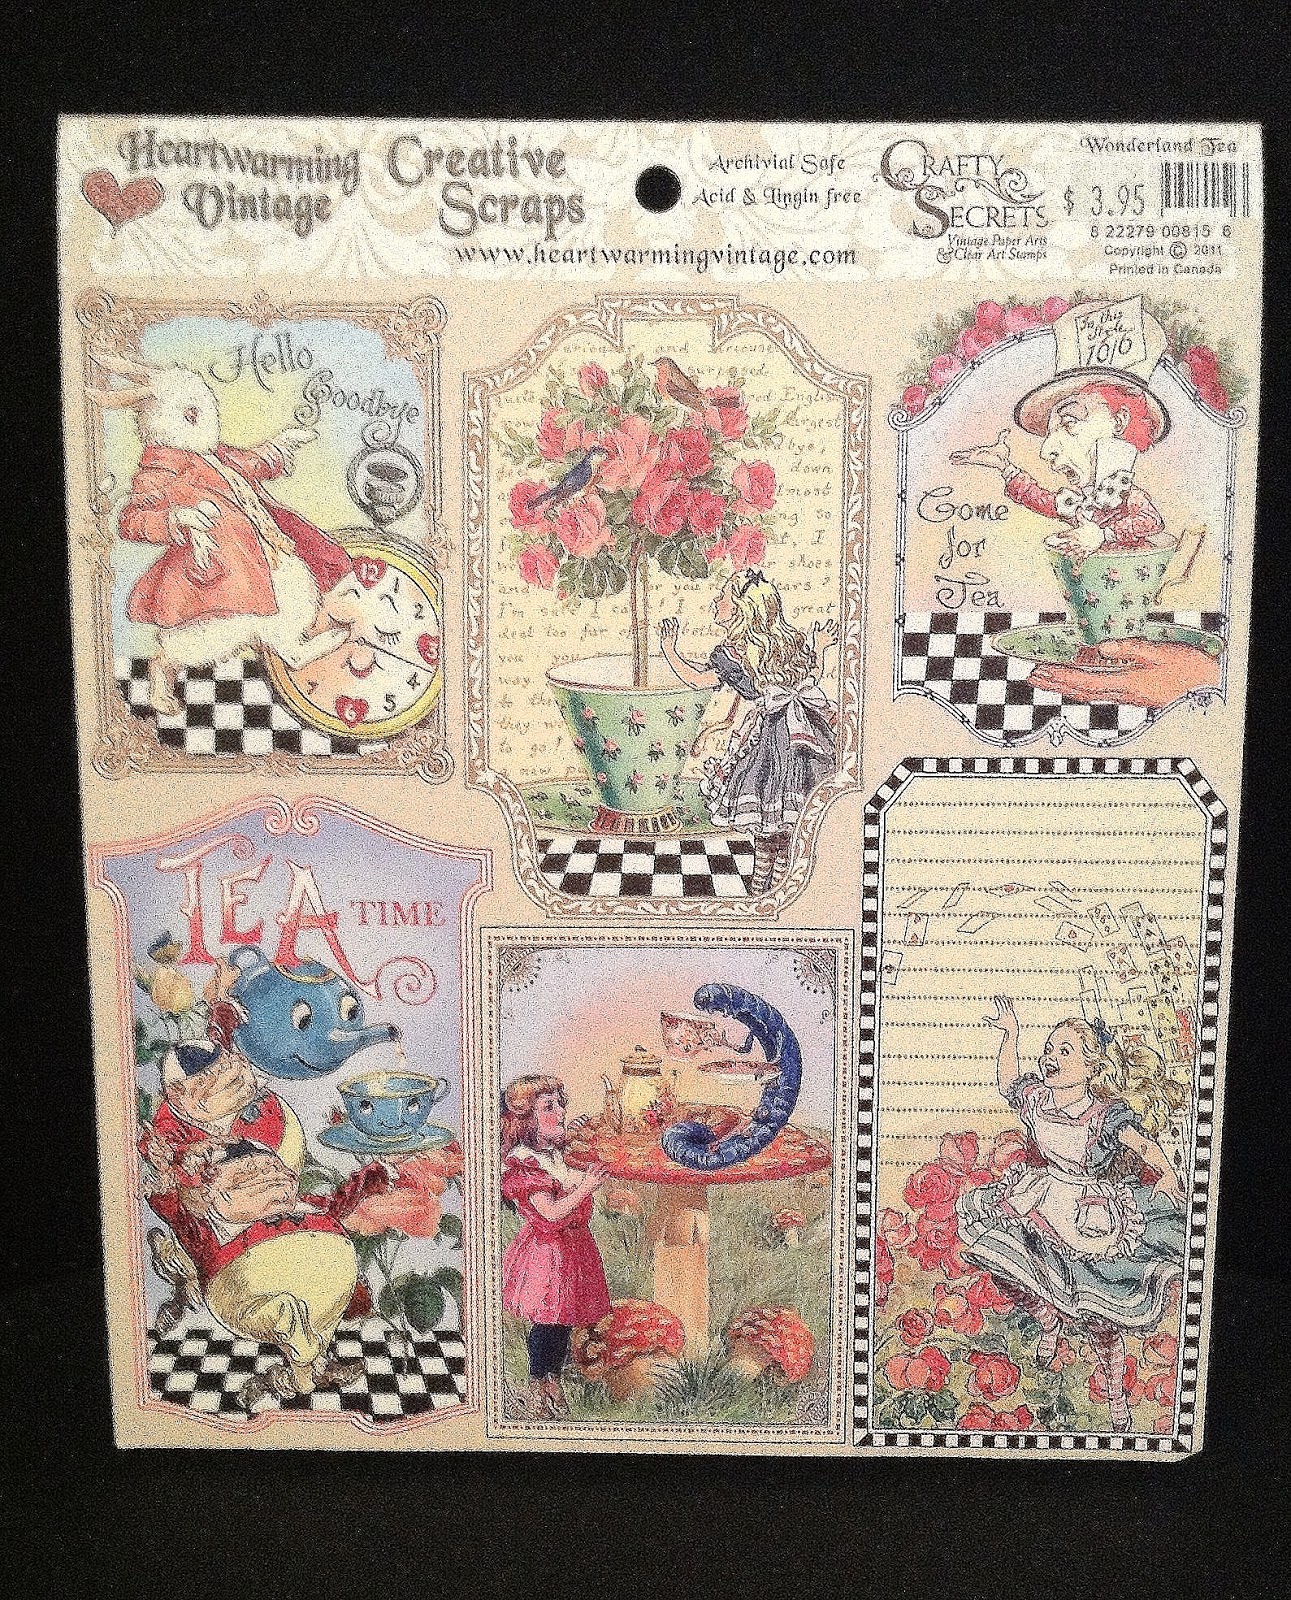
For the inside pages I used the peppermint collection 4x6 paper pad from Crate Paper and the amazing K&Company collection of Christmas embellishments. They both had a vintage look that I adore.


For the inside pages I made pockets in contrasting color.  They can be used to insert pictures or journaling tabs.


I love the wood texture on this paper!


These are a few of the inside pages:


For more information about this project see this video that is posted in my new channel in you tube, please visit and subscribe.


Merry Christmas, and happy scrapbooking!

Friday, December 28, 2012

DIY art smock for painters

My daughter loves painting and for Christmas she asked for painting supplies: an easel, brushes and paints. I also decided to make her something to go along with it, an artist smock.


The materials were very inexpensive just a yard of fabric that I found on clearance and thread.


For the dimensions I used the following pattern:


For the front pockets I sewed them in several widths to accommodate different brush sizes or other items she would need.


She loved the finished product!


Thanks for reading and please comment if you have any questions.

Wednesday, December 26, 2012

Christmas mini album

As a Christmas gift for a fellow scrapbooker friend, I created this Christmas mini album. It was inspired by the classic Christmas colors, but it also included blue and pink for a modern touch.

For the cover I used a classic chipboard album that I painted in hunter green.The title, the trees and the sleigh were cut with my Cricut. For the snow I used white cardstock and glitter.


  I embellished the images with gold stickles and used mod podge to create a clear cover.


For the inside pages, I used the Wonderland mad pad from Martha Stewart crafts in size 6x4, that was perfect for the pre-made cover.


For some of the pages I used a few Christmas stickers from Recollections brand


 Other pages were stamped with Christmas motives.


Thanks for reading and your comments!

Thursday, December 20, 2012

Christmas Cookies

One of my most cherished holiday traditions is baking Christmas cookies with my daughters. We've done it every year since they were very little. I enjoy baking, especially sweets and desserts, so Christmas cookies are right up my alley.

We prepare our own dough from scratch every year.


These are some of the cookies we created:


Classic sugar cookies:


Rolled green spiral with sprinkles:


Chocolate and vanilla spirals:


Thumbprint almond cookies:


Classic gingerbread cookies:


Here is the recipe for our sugar cookies, enjoy!

2 sticks (1 cup) of  butter
2 cups of flour
1 cup of sugar
2 tsp baking powder
1 egg
1 tsp of vanilla extract
1 tsp of salt

1. Mix butter until softened, then add sugar.
2. Add egg and vanilla.
3. Mix dry ingredients in a separate bowl, then add them into the butter mixture.
4. Stir until it becomes a wet mix.
5. Form dough into ball, cover with plastic wrap, and chill for four hours in freezer. 
6. Once dough is manageable, roll it out, and cut in desired shape with cookie cutters.
7. Brush cookies with milk, and sprinkle with sugar.
8. Bake at 350°, for 10 to 15 mins.


                  Happy holidays, and merry baking!

Monday, December 17, 2012

DIY Christmas: Sweet Goodies bags

I love the holiday season and spending time with family and friends. For the next week I will be sharing with my coworkers chocolate filled goodie bags as a token of my appreciation. I was inspired by so many posts on the internet and created mine to my liking.


They were really easy to make with little materials:  Christmas scrapbook paper, clear pretzel bags, ribbon, and of course chocolates.


After each bag was filled, I closed it with ribbon and added a circle tag with a Christmas sentiment.


I found this wire basket in the dollar store to carry my goodies.


Happy Holidays!

Saturday, December 15, 2012

DIY Holiday Christmas Card

I want to share my Christmas card for this year. They have a very simple design that I created with a basic template, that was traced and then cut with a exacto knife.  The colors: Green and gold, very natural and elegant at the same time.


I embellished the card with Christmas stamps.


I added glitter to the images and phrases. Also little black dots were traced all around the basic shape to add interest. 

Thanks for reading and Happy Holidays!

Thursday, December 13, 2012

DIY Christmas gifts: Goodie bags for school

This week with the holidays approaching fast, I feel like I have been working like an Elf. For my daughter's school we wanted to share something with the kids, for them we created these goodies bags, using very inexpensive items from your dollar store: School supplies and Christmas candy.


 We used clear cellophane bags and basket filling in silver to pack the goodies.


They were fun to make and a hit with the kids!


We carry it to the school in a pretty basket to make it look even nicer.


Thanks for reading and your comments!


Tuesday, December 11, 2012

Christmas In Wonderland Scrapbook Mini Album

After finalizing my Christmas decorations inspired by Alice in Wonderland (Alice in Wonderland crafting series) I decided to create a scrapbook mini album to store all my wonderful Christmas pictures.


For the cover I used cardstock that was painted black and designed a scene with printed images and stamps.  They were all colored and enhanced with glitter.


For the inside pages I used a few paper collections: Recollections, Paper Adventures, and the botanical stack from DCWV company.


I also used a set of vintage Alice in Wonderland cardstock images that I purchased in a Scrapbook Convention last year.


 I tried to give the mini album an antique look. All the pages were  distressed with vintage photo distress ink from Tim Holtz.

These pages are all inspired by Alice with her colors: blue, white and black.

It is time for Tea in Wonderland.

Inspired by the Mad Hatter:

The colors of the Mad Hatter: Green, black and yellow. 

This key paper is embellished with a scroll stamp.

 This page is all about the Cheshire Cat and the White Rabbit.


And finally one of the most colorful characters: The Red Queen. All of her colors come alive in this page.


I love the way the pages capture the essence of the story.


For more information view the video on this mini on my you tube channel:


 Thank you for reading and your comments!