After meeting Tim Holtz I was so inspired by his creativity that I decided to follow his designs to make my Christmas cards this year.
For materials I used just one set of his stamps, distress inks ( vintage photo,barn door, tumble glass and crushed olive), some twine, ribbons and a set of his tinsel twine in silver.
A made a dozen cards for my family and friends in a breeze, each one different that the other.
Using the basic elements but changing the colors.
Hoping that they brought holiday cheer to their recipients.
Thank you so much for reading and for this wonderful year on the blog.
I volunteered this year to create centerpieces for our Christmas party at work. Looking for options I made this cute trio of Santa topiaries for the buffet table.
Using very simple materials: Tin cans (Target Dollar Spot),small topiaries (Dollar Tree Stores),ribbon, a small dowel,cotton balls, white felt sheet and basket filling.
First cover your topiaries with red paper using glue. Attach the cotton ball as your top and a strip of the white felt as the border.
Prepare your tin and insert a little piece of dowel. I used a Styrofoam piece that I had leftover from a package to create stability.
Assemble your pieces together and decorate as you wish. I used silver metallic basket filling, a red bow and a stamped circle in each one to read: Ho Ho Ho.
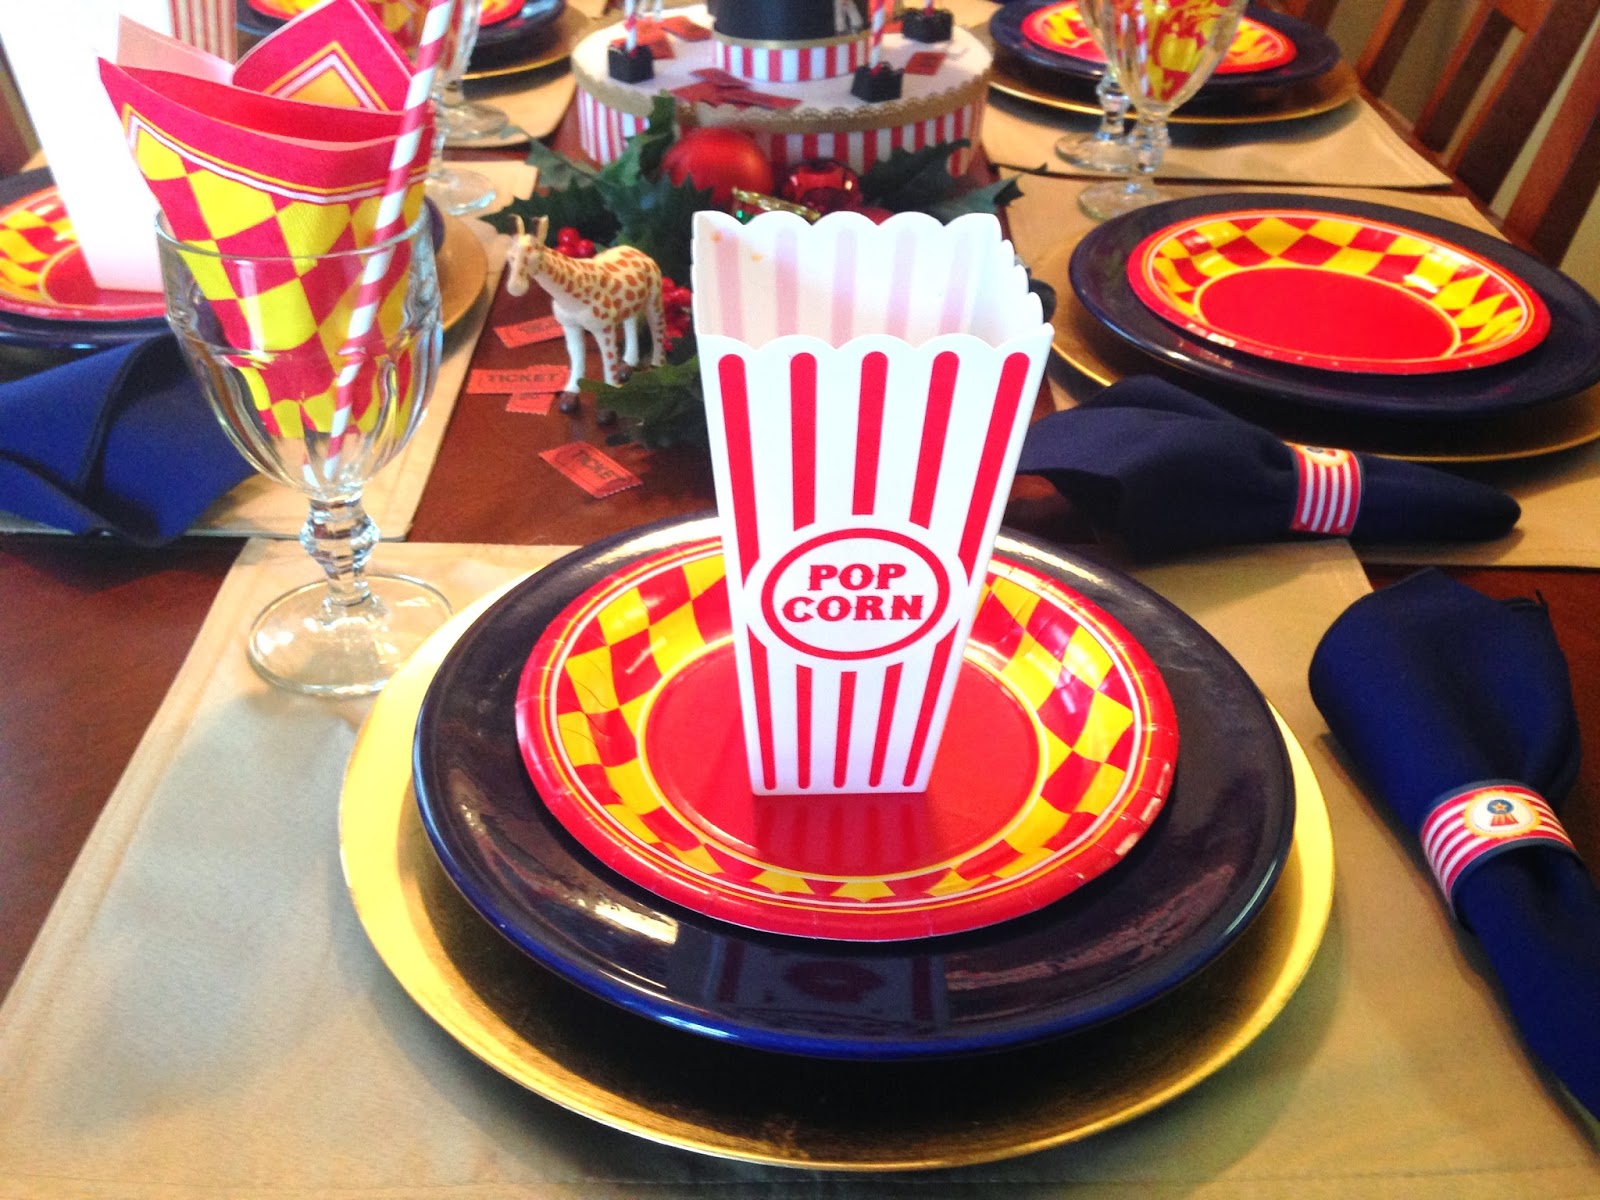
Every year my daughters and I decide what theme we are going to use for our Christmas decorations. We do not like the traditional decor and always try to incorporate a fun twist to our holidays. This year we decided on a Circus Christmas.
It was a hard challenge because it is hard to find items already made with this theme, so we decided to make our own.
For the tree ornaments we used chipboard Christmas ornaments that we painted and decorated.
We have clown noses, pin wheels,stars and clear ornaments filled with peanuts. We used a string of paper tickets as a garland.
For the table setting colorful plates adorned with popcorn baskets that we got at two for a dollar at the Dollar tree stores.
The centerpiece for my table is a carousel made out of paper. I made this carousel using scrapbook paper and printables. It was very fun to make. It is mounted on a lazy Susan so it really turns around!
Here is a view of my dining room.
We found these awesome gift bags and wrapping paper at World market stores. This really pulled the theme together.
An array of fun items made with printables are found all around the house.
This was I would say one of the most fun themes we have used for Christmas. Thank you for reading and your comments. Wishing everybody an awesome holiday season.
This December 31st is the one year anniversary on my YouTube channel, and to celebrate this I am hosting a giveaway inspired by my December daily album.
Head over to the blog to win some goodies. Good luck everyone!
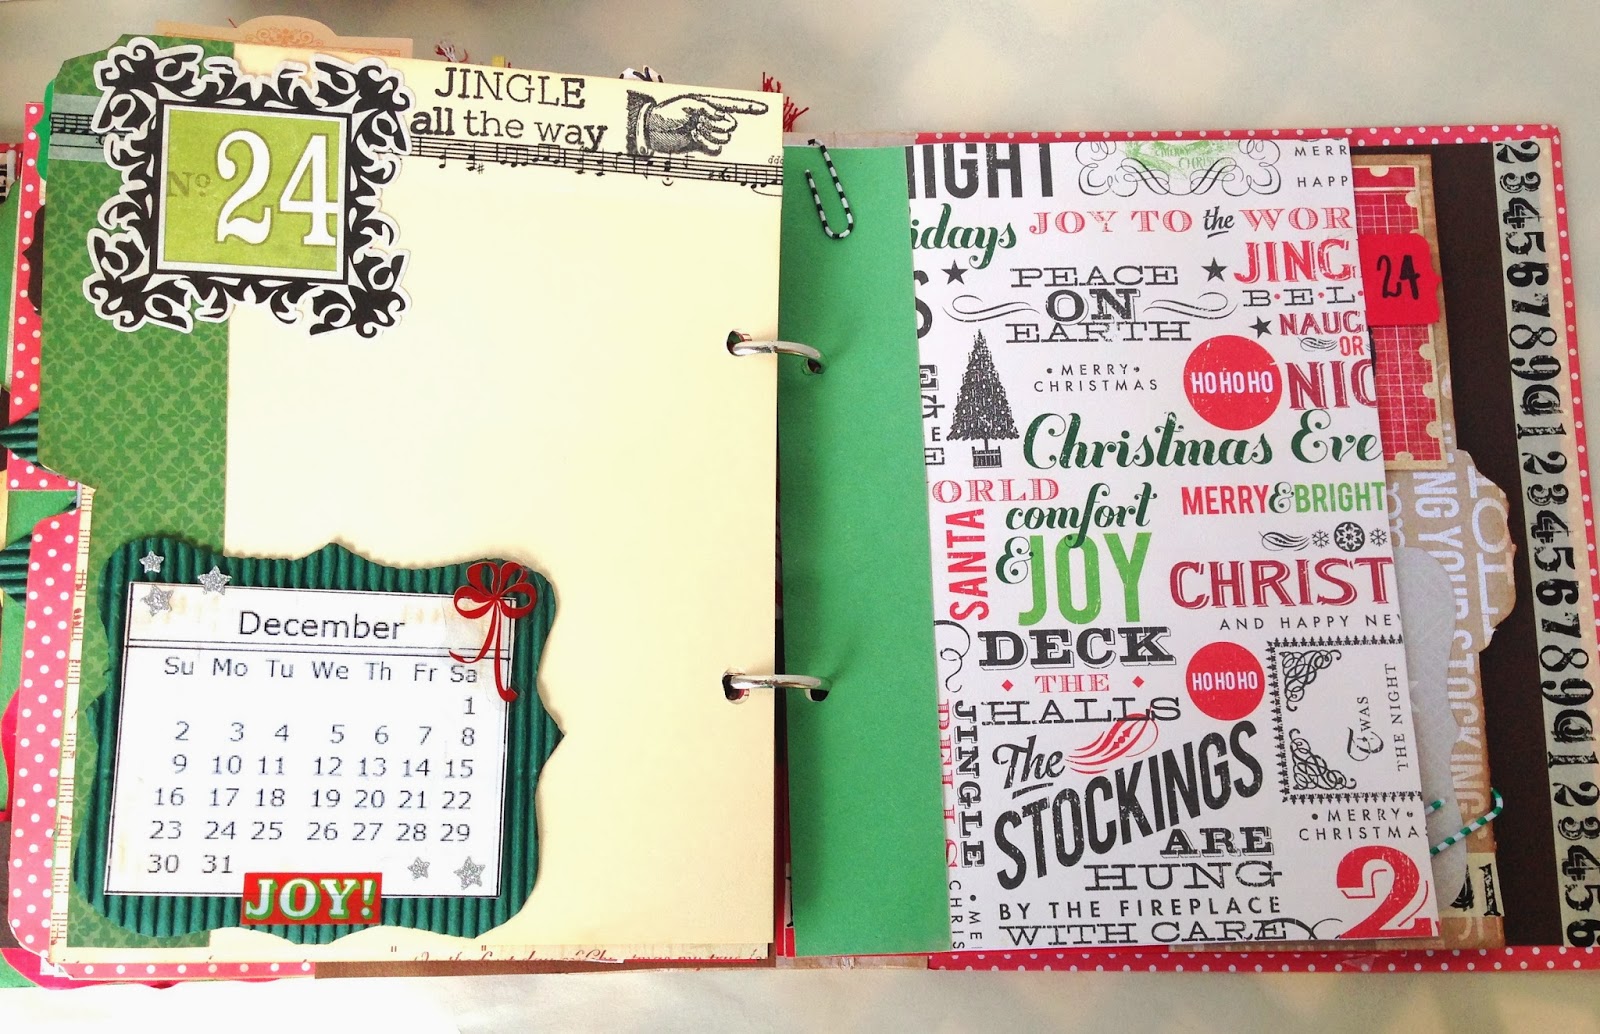
This is the first year that I have completed a December daily and loved everything about the concept. Christmas is my favorite holiday and taking a picture daily for the first twenty five days of December sounded like a lot of fun.
For my cover I didn't use a pre-made album (project life style) that are so much in vogue. I made it all from scratch using a cereal box and lots of embellies.The size of the album is 6 1/2 by 8 1/2 and I used a Tim Holtz two ring binding method.
The cover is interactive: I added two frames, that later on I'm gonna be able to insert pictures of my family and Christmas tree in them.
I first wanted to purchase a kit, but oh my! those can be quite pricey,so I decided to make my own. I went to different craft stores and my inspiration started with this paper I found at Hobby Lobby for 59 cents (Authentique brand).
After that I was like a kid in a candy store, running around my craft room to see what embellishments I could use. I wanted every page to be unique, with traditional Christmas colors but modern touches.
Here are some of my pages:
Every title number was mounted on chipboard and decorated in a different way. No two pages are alike.
There are lots of fun inserts like this tag, made with leftover confetti that I got while I was punching the pages.
The titles are only glued on the corner to make easy the insertion of pictures later on. All photo mats have inserts for extra pictures or journaling.
I wanted my December daily to be full of texture. I used lots of tabs and pages in different sizes and shapes to accomplish this.
And here is a look of the back cover, where you can see the combination of papers, punches and washi tape. Also the side that has this awesome music notes paper that I adorned with Christmas sewing buttons.
Now I am ready for the the holidays to begin. Thank you very much for reading!
A video with the complete album available on my you tube channel: