Wednesday, July 17, 2013

DIY Journaling Project Life Cards

I have been doing project life for a few months now and I love it!
Sitting at my crafting table every Sunday night and seeing the pictures of the fun, or not so fun things that I did during the week is exciting.


Using some craft items that I already owned, I created this set of journaling cards and I wanted to share them with you.


I used  very basic items: first a set of colored index cards from the dollar store. These are a good buy, you can make one hundred cards from one package and they are already lined.


Then used some of my favorite stamps from my collection.


Right now this is one of my favorites made by Heidi Swap.


Here are a few of the finished product.


Thanks for reading and your comments.


Friday, July 5, 2013

Project life Organization

I have been doing Project Life for a few months now, and I needed to come up with a solution for storing some items I have acquired.


Looking for a nice solution, I found this box. Actually it came to me after a shopping trip to BJ'S.


The box was actually made to hold packets of popcorn, but the size, color and shape made me think it would be a great storage solution. Using black acrylic paint and a little bit of washi tape my box became my project life organization. Best of all, it was free!!!!


I just organized all of my items in the way I wanted to. I also made a few dividers using just cereal and snack boxes that I covered with scrapbook paper.


I love how I now have all my goodies at hand. Just looking at them gets me so inspired!

Thanks for reading and your comments.

Monday, July 1, 2013

Stampfest Orlando 2013 : Meeting Tim Holtz

This past weekend I attended for the second time the Stampfest convention in my city. But this year was especially good because Mr. Tim Holtz was present demoing his products and techniques at the Stampers Anonymous Booth.


I have always admired his work and love all of his products, but meeting him in person was a dream come true. He was very approachable and humble. Best of all seeing all the demos for free was awesome.


I was very lucky to purchase one of his configuration boxes on sale for 50% off at the booth, which he gladly autographed for me. It is gonna be displayed on my craft room as a trophy.


At the same time the Stampers Anonymous booth was an incredible display of all of his products.


This display of distress inks which are my favorite product of all time, made me blush.


The stamps display were something out of this world.


At the top of the product displays were his projects, and that was like being in an art gallery.


I especially adore this Valentine day tag.


Another favorite was the traveling Tag.


This convention is certainly one I will not forget and best of all look forward to next year.

Thanks for reading and your comments.

Friday, June 28, 2013

DIY Hello Kitty planner

I want to share a few pictures of a planner that I recently made for my daughter.  She has always been a big hello kitty fan and asked me to make her a small planner to fit in her purse. 


I used my Bind it all and scrapbook paper from the Hello Kitty collection stack to create the planner from scratch. I also found this awesome Washi tape to decorate the pages.

                           
  The calendars were made on my computer and were simply decorated with some stickers and Washi tape.


A variety of journaling cards were used, just using a Hello Kitty sticker made them follow the theme.


This is an adorable set of Hello Kitty post its.


With left over images from the packaging I made page dividers just attaching a pretty paper clip.


I also attached a pen loop made with an elastic band to hold the most adorable Hello kitty pen.


As a bonus I purchased an assortment of Hello Kitty Stationery items most of them in the dollar section of Target and Michael's stores.


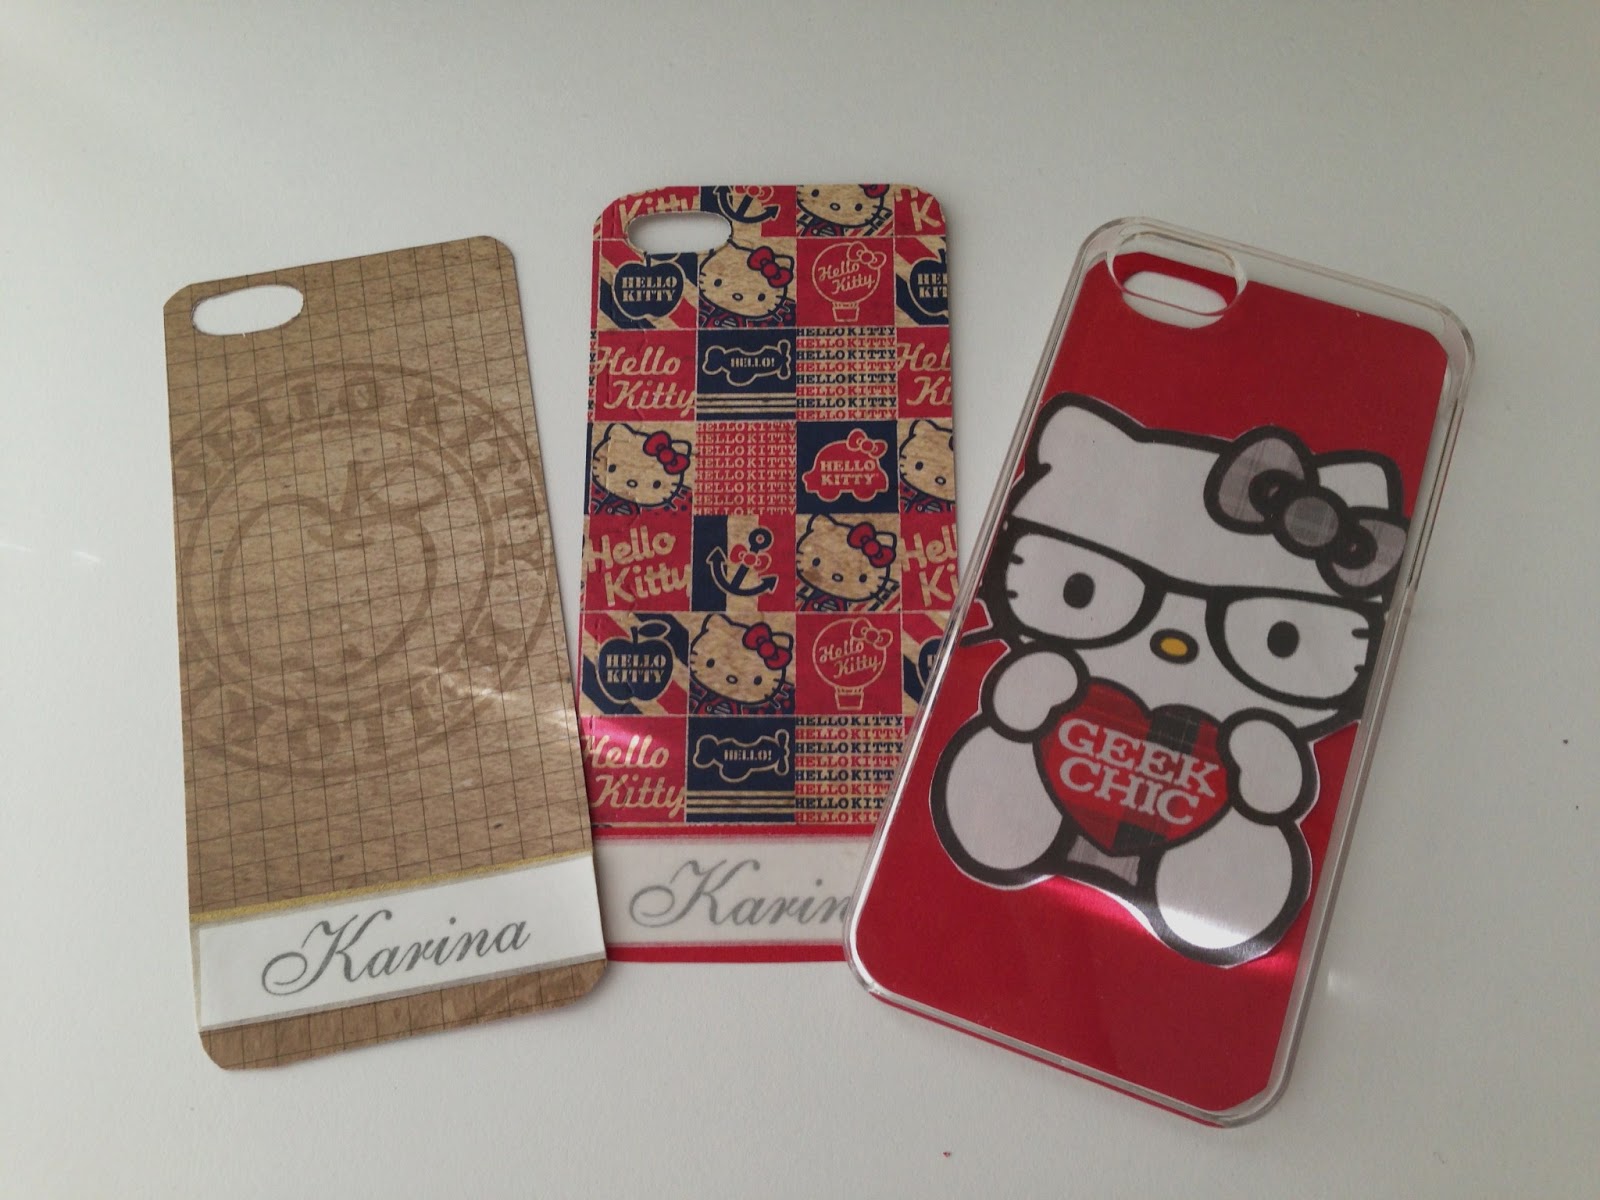
I even had leftover paper to make her covers for her phone.


At the end my client (my daughter) was very satisfied with the finished product.


Thanks for reading and your kind comments.

Monday, June 17, 2013

Filofax supplies storage box

I was looking for a new way to store all my Filofax supplies and I found this box on clearance at TJ Maxx. 
It  reminded me of the old times when people used pretty stationery to write letters.


 I fell in love with the clear drop handle that you use to open the box.


The box was actually a jewelry box, but it was perfect for what I had in mind. 


It has two sections: the top part with dividers and a big drawer at the bottom.


It had some damage that I fixed using acrylic paint in ivory color, scrapbook paper and stamps.
This is the finished product.


All my goodies now have a home.


Thanks for reading and your comments!


Thursday, June 6, 2013

New planner/Journal/Filofax

I got bitten by the Filofax craziness going on right now and decided to use this method for my planner this year.


  Filofaxes are amazing but on the expensive side so I purchased a similar version called Day Planner, that of course I personalized to my taste. I decided on this type of planner for the versatility of being able to change your pages and to add fun accessories.


The planner brings your basic filler pages like calendar, reference, contacts and blank pages. I decided to add my own tabbed sections with my personal interests.


Using scrapbook paper I created this feminine but still fun theme throughout the planner. I also used inspirational quotes printed on vellum paper.


I tried to color coordinate all my other accessories using paper and Washi tape as decor.


Available online are a great variety of printables that you can use as add-on for your planner. Another solution is to create your own templates using your computer, like this bill planner.


On the back of my planner I created a post it storage solution using acetate. As you can see Post-its are my newest obsession.


I used color lined paper to beautify my planner. I also added a variety of fun items like pockets, paper pads and pictures.


I'm planning on using a color coding system to keep me organized. Pens in different colors and stickers will help me achieve this.


 It is all about making something that you would love and use through the whole year. Something to keep you inspired or that will make you daydream.


A more detailed video is available in my YouTube channel.


Thanks for reading and your comments. 

Thursday, May 23, 2013

New Washi Tape organization


One of my latest obsessions is Washi tape. The texture, the colors and design of each one speaks to my crafty heart. 


At the beginning I was storing my Washis (that's how I so lovely call them) into a small box, which of course I outgrew with some of my latest hauls.


Washis in hand, I visited The Container Store and I believe tried every container looking for a nice solution. Until I found these ones, called Box Box priced at $4.99. Little pricey but exactly what I was looking for.


I thought of storing my Washis flat, but when I got home found that the boxes stacked nicely one on top of the other. 


You can store about 3 or 4 Washi tapes, depending on their sizes in each of the compartments. These two boxes will easily store about 50 of your tapes. You can see here I still have plenty of room to grow.


You can store your tapes by collections (which usually come in three sets), color coordinate them or whatever method pleases you.


I was very pleased when I placed my container on top of my desk organizer. Now I can see all my Washis and feel inspired by them.


Thank you for reading and your comments.