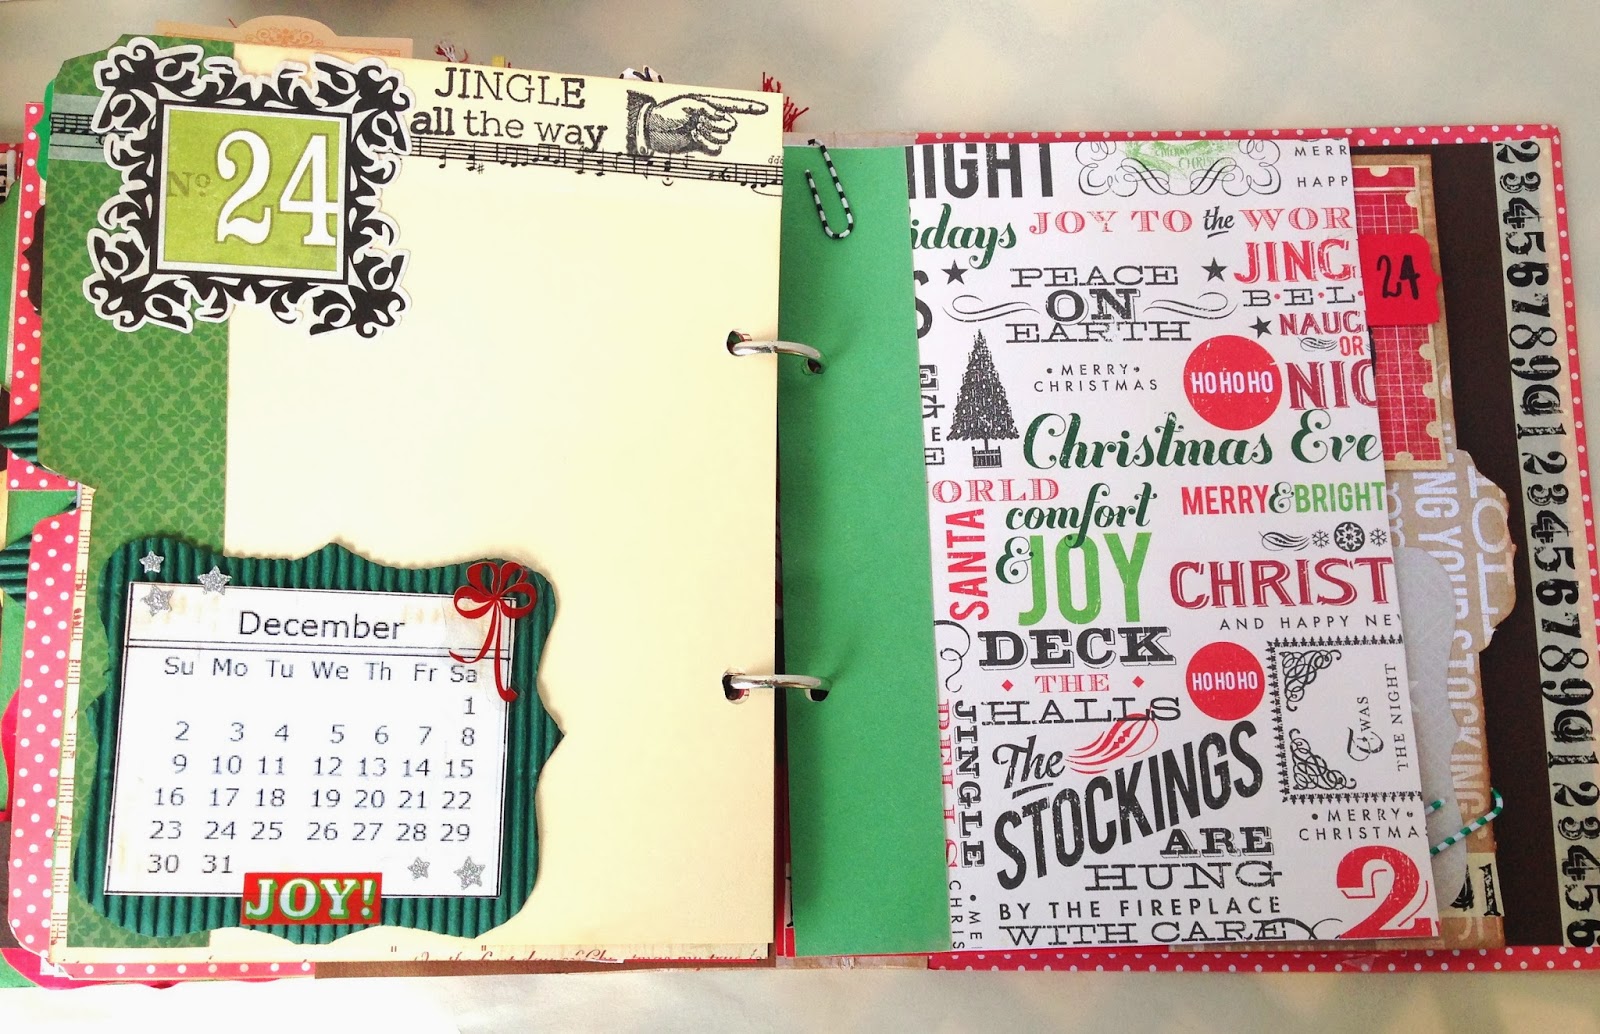
This December 31st is the one year anniversary on my YouTube channel, and to celebrate this I am hosting a giveaway inspired by my December daily album.
Head over to the blog to win some goodies. Good luck everyone!
This is the first year that I have completed a December daily and loved everything about the concept. Christmas is my favorite holiday and taking a picture daily for the first twenty five days of December sounded like a lot of fun.
For my cover I didn't use a pre-made album (project life style) that are so much in vogue. I made it all from scratch using a cereal box and lots of embellies.The size of the album is 6 1/2 by 8 1/2 and I used a Tim Holtz two ring binding method.
The cover is interactive: I added two frames, that later on I'm gonna be able to insert pictures of my family and Christmas tree in them.
I first wanted to purchase a kit, but oh my! those can be quite pricey,so I decided to make my own. I went to different craft stores and my inspiration started with this paper I found at Hobby Lobby for 59 cents (Authentique brand).
After that I was like a kid in a candy store, running around my craft room to see what embellishments I could use. I wanted every page to be unique, with traditional Christmas colors but modern touches.
Here are some of my pages:
Every title number was mounted on chipboard and decorated in a different way. No two pages are alike.
There are lots of fun inserts like this tag, made with leftover confetti that I got while I was punching the pages.
The titles are only glued on the corner to make easy the insertion of pictures later on. All photo mats have inserts for extra pictures or journaling.
I wanted my December daily to be full of texture. I used lots of tabs and pages in different sizes and shapes to accomplish this.
And here is a look of the back cover, where you can see the combination of papers, punches and washi tape. Also the side that has this awesome music notes paper that I adorned with Christmas sewing buttons.
Now I am ready for the the holidays to begin. Thank you very much for reading!
A video with the complete album available on my you tube channel:
This week I have a Halloween theme for my planner pages. I love the holidays, especially Halloween that is so much fun. I decided to make two week designs with this theme (Yes, one was not enough). Here is the first one:
For materials I used: two washi tapes from Studio G (Joann's stores), orange post its, Recollections stamp set, K&Company diecuts and my weekly used Basic Grey stamp set.
I will see you next week with another Halloween page.
Halloween is this month and as soon as all the stores start getting their decoration out I get all excited to start decorating my home. Let's begin by some of the projects you guys have seen already in previous posts. This is my Halloween banner that I made for my dining room.
For table set I used orange, black and white plates with gold chargers. To top the plate setting I used my DIY candy corn boxes and some creepy hands from the dollar store.
To add color I used orange paper napkins in my glassware. This skeletons were added with rope to simulate they are being hanged.
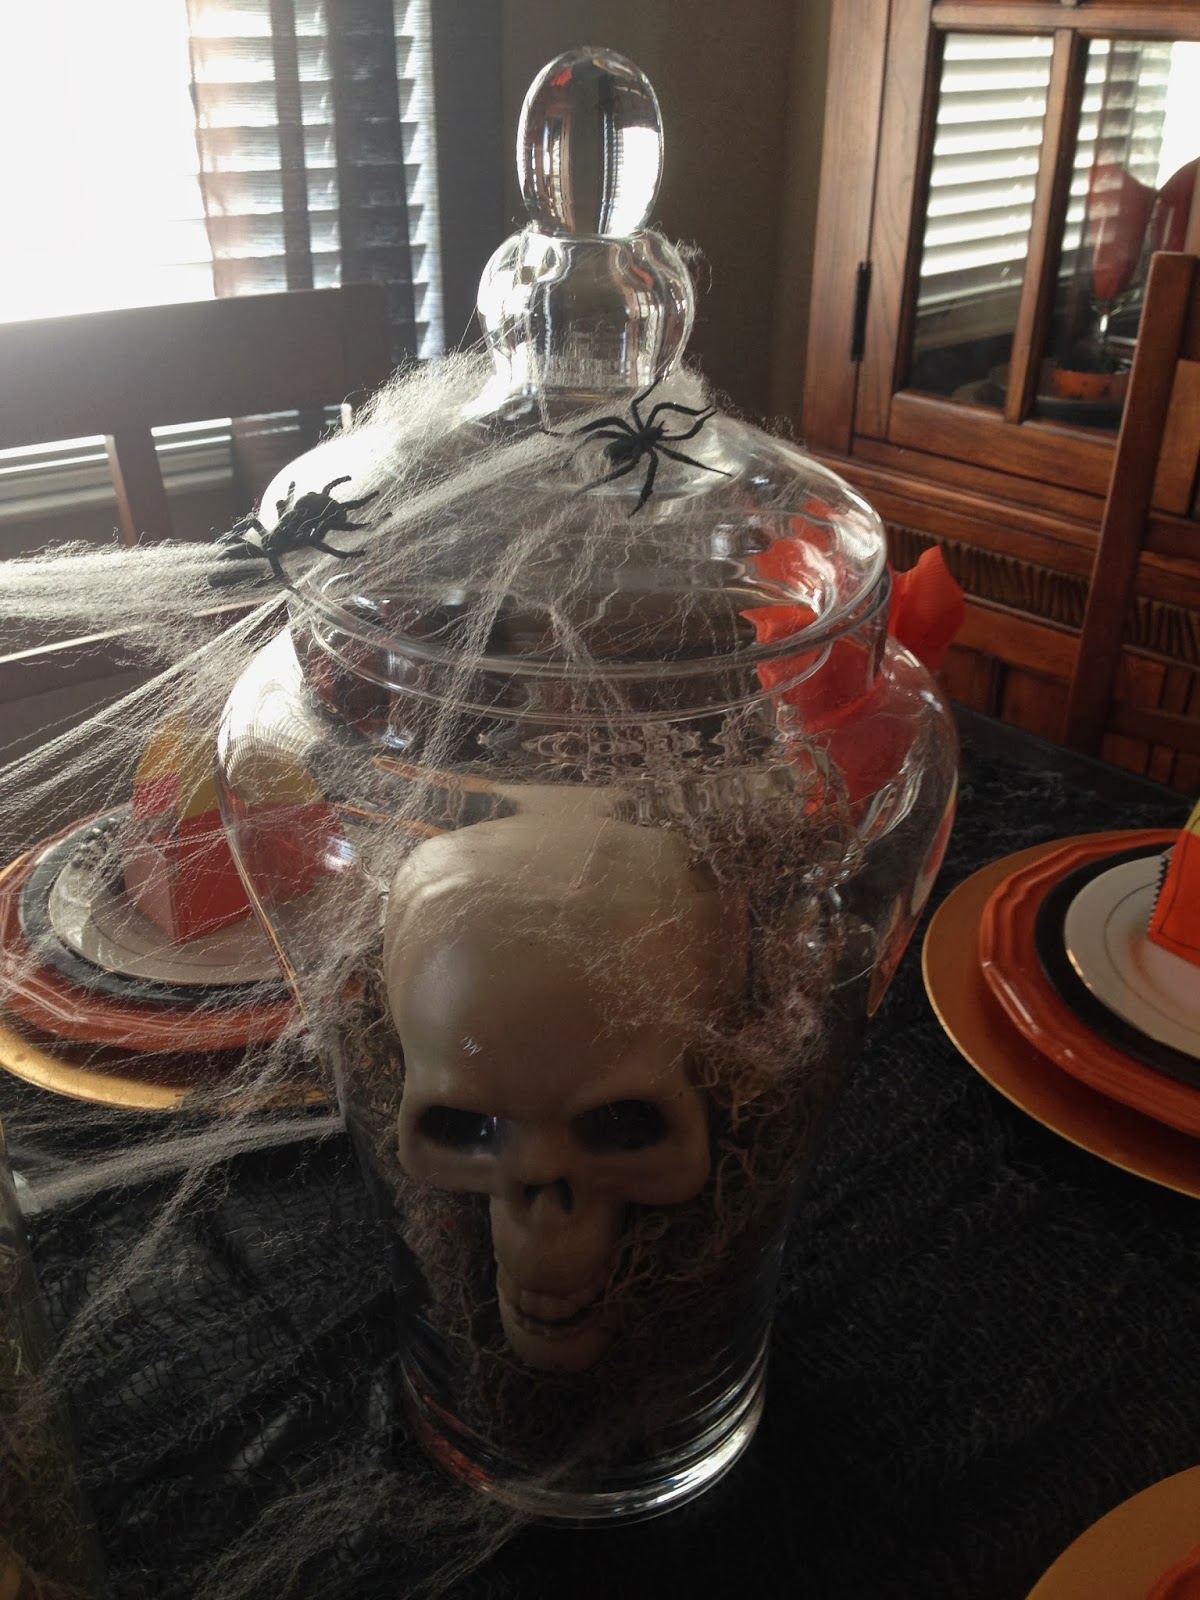
Continuing with my living room table,everyday items get a Halloween makeover by adding black lace, cob web and plastic spiders.
I printed a photo of Edgar Allan Poe on my computer and stacked some books. More cob web to give the haunted look.
This set of glass jars were filled with skeleton parts and moss.
For my foyer I created a Halloween scene beginning with a plastic cauldron, moss and a skeleton head. Black candles, a spell book ( I altered the book with a printable) and a home made witch broom.
I exchanged my usual wall art for a poster with a cemetery landscape.
I'm displaying my Halloween album for this year adding some fun with a set of Halloween pumpkins.
And last but not least, my favorite witch that was a gift from my daughter a couple years ago. I love that she lights up making the foyer more haunted.
A little late but here it is this week design for my journal: a coffee theme. I was inspired by all the colors of fall, the holiday beverages and of course my favorite drink coffee.
For materials I used: printables from my computer, three different washi tapes (brown,black and orange chevron), the Basic grey stamp set and post its from the Target dollar section.
Hope that you like it and see you next week with a new design!