Thursday, October 17, 2013

DIY Halloween tabletop decor

For my last decoration project for this Halloween season I created a centerpiece for my foyer sitting area.


I used a chipboard witch hat that I found at Michael's on clearance for $1.49


I coat of black acrylic paint was the beginning of the transformation.


I used a wire black sheer ribbon to tie a bow on the side and used some floral pieces with Halloween colors.


With a set of stamps from the recollections brand (Michael's stores) I made a small banner.


And here is the finished product:


I used a 99 cent pumpkin from the Dollar tree store and a small urn that I had already to complete my decor.


Thank you for reading and Happy Halloween!

Wednesday, October 16, 2013

Filofax design page week 10/15

This week I have a Halloween theme for my planner pages. I love the holidays, especially Halloween that is so much fun. I decided to make two week designs with this theme (Yes, one was not enough). Here is the first one:


For materials I used: two washi tapes from Studio G (Joann's stores), orange post its, Recollections stamp set, K&Company diecuts and my weekly used Basic Grey stamp set.

I will see you next week with another Halloween page.


Thanks for reading!

Monday, October 14, 2013

Halloween card share

I created this Halloween card for a pen pal friend and I wanted to share it. It is a very basic design but fun.


Materials: 
Recollections paper (Orange linen,polka dot,orange pinstripes)
Martha Stewart punch Doily lace
Tim Holtz distress ink in black soot
Recollections die cut (witch)
Washi tape Studio G
Stamp Studio G(Oct 31)

Happy Halloween!

Wednesday, October 9, 2013

Halloween decorations for this year

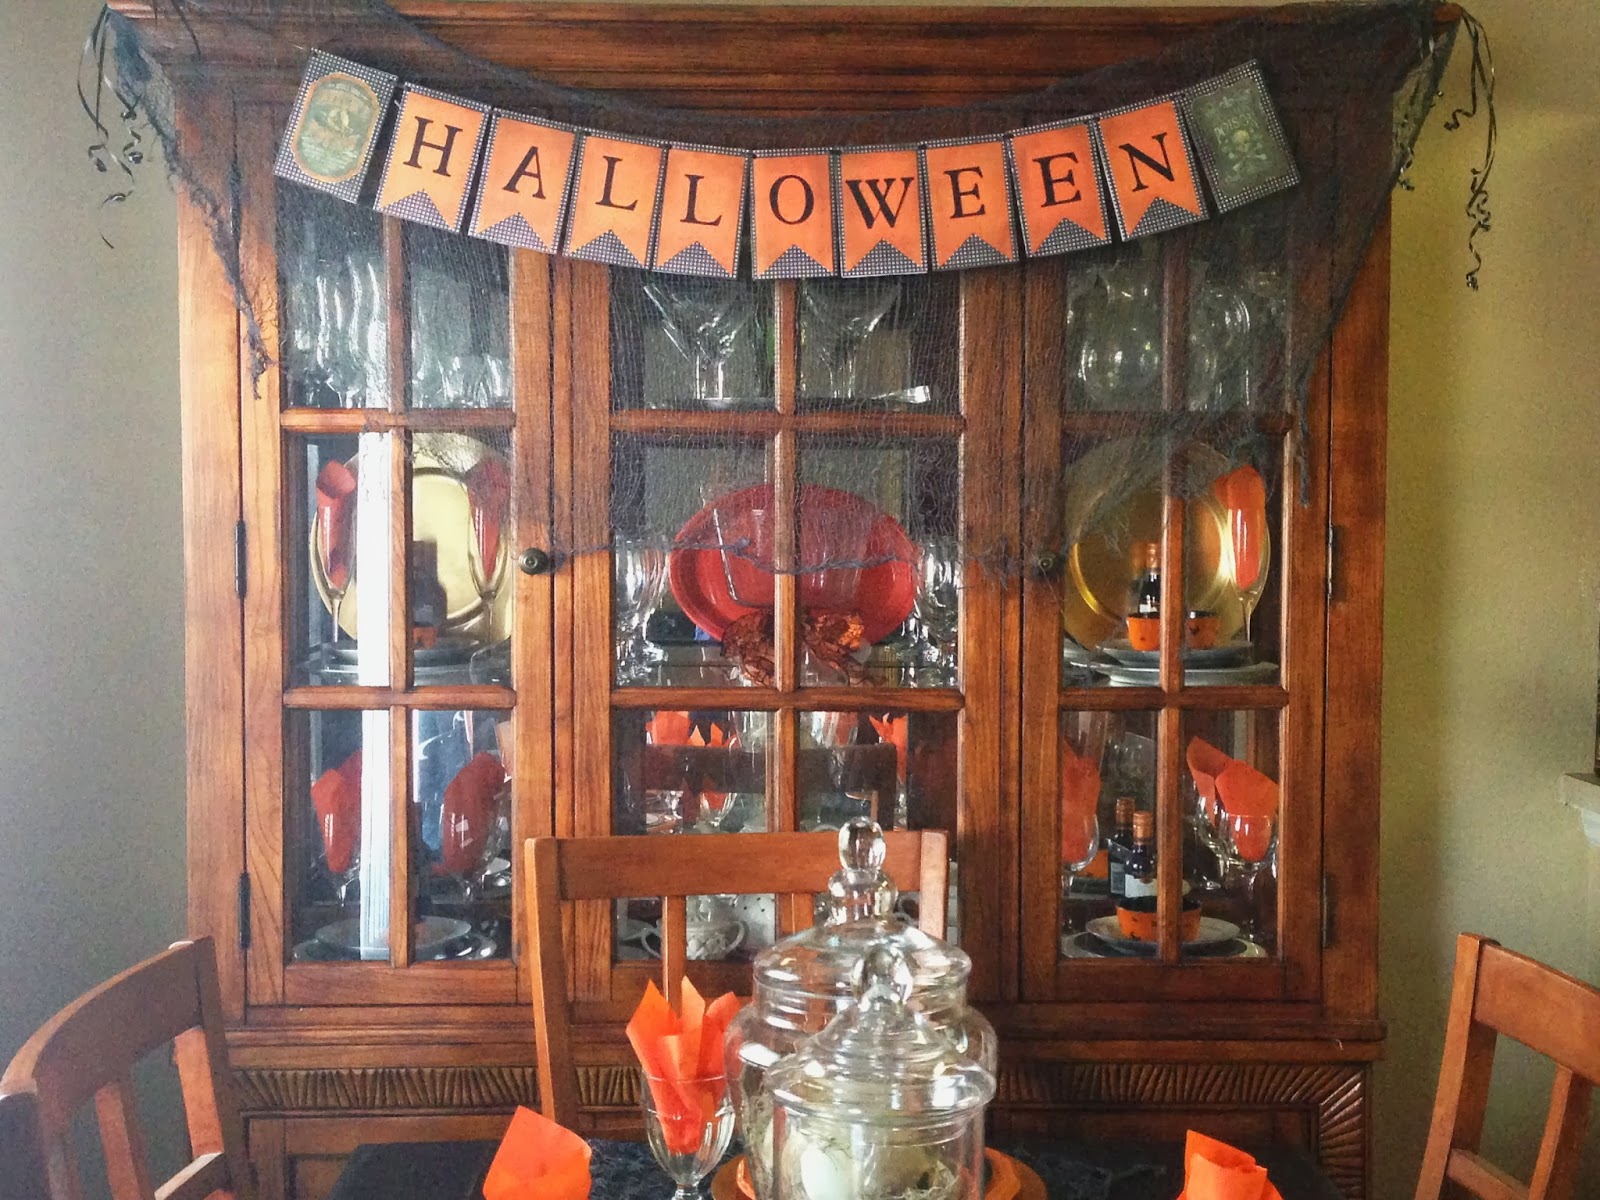
Halloween is this month and as soon as all the stores start getting their decoration out I get all excited to start decorating my home. Let's begin by some of the projects you guys have seen already in previous posts. This is my Halloween banner that I made for my dining room. 


For table set I used orange, black and white plates with gold chargers. To top the plate setting I used my DIY candy corn boxes and some creepy hands from the dollar store.


To add color I used orange paper napkins in my glassware. This skeletons were added with rope to simulate they are being hanged.


Continuing with my living room table,everyday items get a Halloween makeover by adding black lace, cob web and plastic spiders.


I printed a photo of Edgar Allan Poe on my computer and stacked some books. More cob web to give the haunted look.


This set of glass jars were filled with skeleton parts and moss.


For my foyer I created a Halloween scene beginning with a plastic cauldron, moss and a skeleton head. Black candles, a spell book ( I altered the book with a printable) and a home made witch broom.


I exchanged my usual wall art for a poster with a cemetery landscape.


I'm displaying my Halloween album for this year adding some fun with a set of Halloween pumpkins.


And last but not least, my favorite witch that was a gift from my daughter a couple years ago. I love that she lights up making the foyer more haunted.


Happy Halloween thanks for reading!


Tuesday, October 8, 2013

Filofax design page week 10/06

A little late but here it is this week design for my journal: a coffee theme. I was inspired by all the colors of fall, the holiday beverages and of course my favorite drink coffee.


For materials I used: printables from my computer, three different washi tapes (brown,black and orange chevron), the Basic grey stamp set and post its from the Target dollar section.


Hope that you like it and see you next week with a new design!

Friday, October 4, 2013

DIY Candy corn trick or treat boxes

For my second Halloween project of this season I wanted to create something special for the children when they come to trick o treat at my door. This are little boxes that are inspired by a favorite candy: Candy Corn.


I first drew my design and then proceeded to cut the pieces into three different sections to simulate the Candy Corn colors.


I preceded then to cut all my pieces in colored cardstock. I also used a Halloween stamp to create a small tag.


I glued all my pieces together.


I outlined my Candy Corn design with a black marker.


 I made a hole with a paper punch to be able to attach my pieces on the top.


For the little box that holds the Candy Corn you would need two pieces of cardstock: one is 4x6 (score at 2" and 4") and the other 2x8 (score at 2" and 6")


Glue your pieces together.


I used an extra piece of scrapbook paper for decoration and stability on my boxes.


Get all your pieces together and voila: Candy Corn treat boxes. They are filled with Halloween candy.


They make a fabulous addition to my Halloween dining table decor and hopefully the children will like them too.


Thank you for reading and your comments!

Thursday, October 3, 2013

DIY Halloween Banner

I love Halloween and soon as October 1st arrives we start decorating the house. This will be my second project for this year: a banner that I intend to display on the china cabinet on my dining room. 


 This project was really inexpensive. For materials I used scrapbook paper (Recollections from Michael's 5 for $1.00) cardboard boxes (I used cereal boxes) acrylic paint and string ribbon.


First I made two squares of paper: one in 4"x6" and the other 31/2" x 51/2"
.

Then measuring one inch in the center I made a triangle on the paper to create the banner look.


I made the letters using my Cricut, but you can also use stickers or printed letters from your computer.


I backed my banner with chipboard from cereal boxes to make it more durable. Then I proceeded to paint the back with black acrylic paint. This step can be skipped. I also used my Tim Holtz distress ink in black soot to finish the look.


Using a paper punch I made hole to be able to string the ribbon around. And as a last touch I added in the first and last banner Halloween printables that I found online.


I love the result and the bargain that it was to construct my banner.


Thanks for reading and your comments!